If you’ve ever been frustrated by the jumble of paper receipts cluttering your desk or the bottom of your bag, it’s time to consider a different approach.
With the use of your iPhone, managing receipts can become a much more organized and streamlined process. This article will guide you through the steps of doing so, providing you with a comprehensive tutorial to make the process of managing receipts in your iPhone hassle-free and efficient.
Understanding the Need for Managing Receipts in Your iPhone
Firstly, we need to understand why managing receipts in your iPhone is a big deal. After all, receipts are small papers that we often lose or discard, right? But, they carry important details about our expenses. That’s why we must not lose them.
For instance, when you own a small business, you must organize your receipts. They are your business expenses. By doing this, you can create expense reports accurately and keep your business running smoothly.
Reasons to Keep Digital Receipts
By now, we all know that paper receipts are hard to manage. They are small, easy to lose, and can get damaged. Additionally, keeping them can also harm the environment.
But, what’s the solution? The answer is simple – digital receipts. With the receipt scanner app, you can easily scan receipts, and store them in your mobile device.
Moreover, keeping digital receipts helps you track your expenses. For instance, you can quickly check how much you spent on groceries last month. Or, find out how much you paid for a particular item.
Above all, digital receipts can also help you file tax returns accurately. After all, they provide exact data about your expenses.
The Role of Your iPhone in Receipt Management
It plays a crucial role. With the help of receipt scanner apps, your iPhone can turn into a powerful tool for managing receipts. Additionally, you can also track business expenses and create expense reports directly from your phone.
Setting Up a System for Receipts in Your iPhone
Selecting the Right Apps
Many people often wonder, “With so many options available, how do I pick the right tool for my needs?” Comparing receipt scanning apps can help you identify the app that is the best fit for your requirements.
Firstly, you need to pick the right receipt scanner apps. For instance, ‘Receipt Bank‘ is a good choice. Not only does it scan receipts, but it also extracts important details. Thus, it saves you time. Another good option is the ‘Evernote‘ app. It lets you save scanned documents with details.
Other options include ‘Expensify‘ and ‘Shoeboxed.’ Both are comprehensive apps for expense tracking. They let you turn receipts into expense reports. Also, they can sync with accounting software. This feature is a boon for small business owners.
However, do remember, some apps have a premium version. So, check if a free plan is enough for you. Otherwise, pick a monthly plan that suits your needs.
Organizing Receipts Categories
After you pick an app, start organizing receipts. Firstly, scan all your receipts using the receipt scanner feature of the app. Secondly, create categories for expenses. For example, food, travel, and so on. Then, upload receipts to the right categories. In short, categorizing helps you to stay organized.
Next, create a schedule to regularly check your app. After all, managing receipts is a habit. So, stick to a routine. Additionally, make sure you have a good internet connection. You’ll need it to use your app effectively. Also, protect your app with a password. It holds important data, after all.
However, if you’re specifically interested in keeping track of receipts, a receipt tracker app could be your best bet. These apps are designed with the sole purpose of managing your receipts in a user-friendly manner, ensuring all the details are readily available and safely stored.
Step-by-Step Guide to Capturing Receipts in Your iPhone
With the right app on your iPhone, tracking expenses is easy.
Photographing Your Receipts
Firstly, find a receipt. Put it on a flat surface. Then, open the app on your phone. Next, look for a button that says ‘scan’ or ‘capture’. Click on it. Now, point your phone’s camera at the receipt. Try to capture all the details. After that, click on the shutter button. And, that’s it. You have photographed your first receipt.
Next, check the scanned text. The app uses something called optical character recognition. It reads the text on your receipt. So, check if it read everything correctly. If not, you can edit the scanned text. After all, correct receipt information is crucial for expense tracking.
Also, remember to capture multiple receipts separately. This way, the app can read each receipt correctly. Afterward, you can save each receipt separately in the app.
Storing Receipts Digitally
Once you capture a receipt, it’s time to store it. The receipt scanner software lets you save the image. But, that’s not all. It also lets you save receipt information. For instance, the date, amount, and business.
All these details are important for expense tracking. So, ensure you save them. After that, you can submit the receipt to your expense tracker. This way, it adds the expense to your records.
Meanwhile, some apps also let you export data. For example, to an Excel file. It helps in making reports. Or, you can link the app to accounting software. It keeps your bank accounts updated. This is especially helpful for small business owners.
How to Review and Use Receipts in Your iPhone
Accessing Your Digital Receipts
Firstly, open the receipt scanning app on your phone. Find the section where it says “My receipts”. Click on it. Now, you’ll see all your digital receipts.
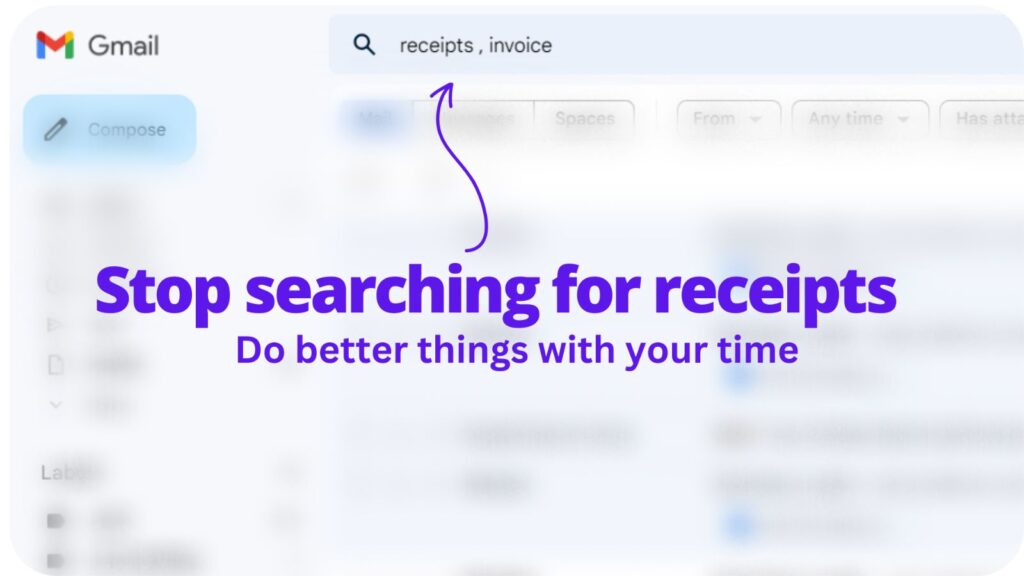
But, how do you find a specific receipt? After all, you could have hundreds of them. Well, most receipt apps let you search. For instance, you can search by date or business. So, finding a specific receipt is easy. It’s a lot simpler than searching a pile of paper receipts.
Analyzing Your Spending
One of the best parts of having digital receipts is analyzing your expenses. How do you do it? First, go to the ‘Reports’ section in the app. Then, choose the time period you want to analyze. For example, the last month or year. Now, the app will show you a report of your spending.
The report can show you many things. For example, how much you spent on food last month. Or, how your spending on gas has changed over the year. Afterward, you can use this info to plan your future spending.
So, not only do receipt apps help you go paperless, they also help you understand your spending.
Maintaining Your Digital Receipts in Your iPhone
Schedule Regular Reviews
First, make a habit of reviewing your digital receipts. This means, every week or month, spend some time on it. This way, you’ll stay on top of your expenses. Also, you’ll spot any errors quickly.
How to do it? Firstly, open the receipt app on your iPhone. Secondly, go through all new receipts. Check the date, business, and amount. If there’s an error, correct it.
But what if you forget to review? You can set a reminder on your iPhone. So, every week or month, your phone will remind you.
Data Security and Backup
What if something happens to your iPhone? Will you lose all your receipts? Not if you back up. Most apps let you back up your data. This means, even if you lose your phone, your receipts are safe.
Also, most apps use password protection. This means, only you can see your receipts. So, your data is secure.
Back up is simple. Firstly, go to the app’s settings. Secondly, look for ‘Backup’. Click on it. Now, choose where to back up. For example, you can back up to iCloud or your email. Your data is safe and secure.
FAQs About Managing Receipts In Your iPhone
What if I don’t have time to scan all my receipts?
You can do it as you get them. Or, set a specific time each week to do it. You should make it a habit. This way, your receipts will be organized.
Can I share my digital receipts with others?
Most receipt apps allow you to share digital receipts. You can email them or send via other apps. This feature is helpful when you need to share expense reports with your accountant or team.
Can I use multiple receipt apps on my iPhone?
You can use multiple apps on your iPhone. But it may get confusing. It’s usually best to pick one comprehensive app that suits your needs.
Conclusion
Managing your receipts on your iPhone is a game-changer. It helps you track your expenses, stay organized, and save time. With the right app, you can easily scan and categorize your receipts.
Many turn to the best receipt management tools to streamline this process, ensuring all the details are readily accessible and safely stored. You can also review them regularly, and back them up for safekeeping. Plus, you can analyze your spending and make informed financial decisions.
Collect receipts from your email automatically!
Try WellyBox - your AI assistant for receipts😃
Start for Free